-
Houseparty App ~ Video Chat With up to 8 People!

I have been disappointed over the recent years with how little my teens communicate with their friends in a manner that does not involve texting. Nobody actually calls each other any more. Just as our mothers and grandmothers before us, I began to accept the changing times. The tide has turned though with the entrance…
-
Prisma: Turning Photos Into Works of Art

If you have found yourself looking at all the artistic images that your friends have been sharing on social media the past few months and find yourself wishing you had such artistic talents too, I will let you in on a little secret … most of the beautiful artistic images circulating social media have been created with…
-
Nike Training: A Workout App to Keep You Active on the Road

Busy professionals and traveling storytellers are often on the road, which can disrupt attempts to remain loyal to a workout regime. This has happened to me too many times! I will get into a good groove of working out and then leave to travel, abandoning my trips to the gym only to have to start…
-
Quizlet ~ A Handy Study Tool
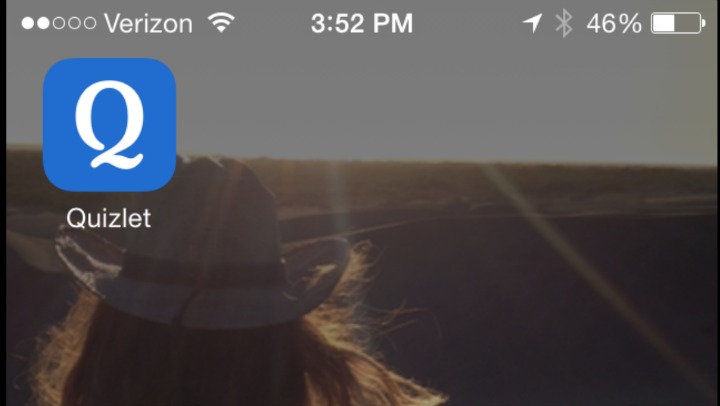
I’m past the point in parenting where I need to search and find tools to help my kids with their studying. They find innovative ways to help themselves! When I saw my daughter on her phone, I’m pretty sure I said something to the effect of, “Hey Missy! Shouldn’t you be studying?!” To which she…
-
Nuzzle: A Social News Reader
Most of the time when we are using social media to engage with family, friends and followers, we don’t really want news stories or articles in general mixed in there. There are other times however, that we would just like to see those stories without other interactions intermingled. We have discovered an App for that!…
-
Genius Scan: Apps for the Busy Professional on the Go
As someone who has a mobile office, I was initially unprepared for the amount of times I would receive ‘urgent’ requests for documents to be printed, signed and scanned back. There have also been times when paper sources of mine have had to be sent to someone immediately. Of course, as a working mom, and…
-
Creating a Digital Signature with SignEasy
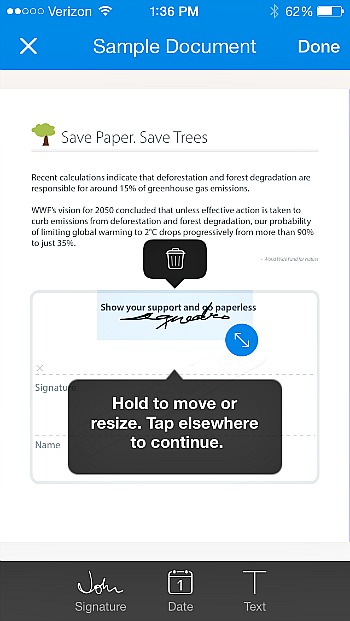
There have been countless times when I have received an email with a document that needs to be printed and signed then sent back ASAP. On numerous occasions this has been when I am nowhere near a computer, printer or scanner! I have come across a couple Apps that have solved this dilemma for me:…
-
Flipagram: How To Make A Flipagram?
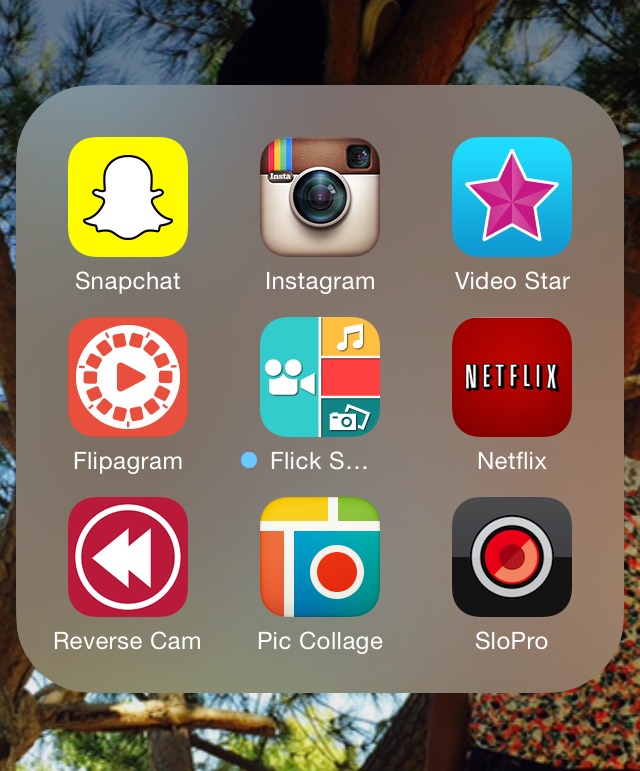
Flipagram: How To Make A Flipagram? This question has come up, as I have been watching and observing my teenagers’ online antics and I have learned an important lesson from them! It’s more important to come across as having fun and even looking goofy than it is to look good when posting to social sites. One…
-
Instacollage : Apps My Kids Use

Instead of sharing a whole album of photos, I’ve noticed that my kids compile their favourite shots from an event and share them as just one photo collage. It’s something they’re always excited to do when we get home. They sit on the couch and go through all the pics we took, then go about…
-
Video Star : Apps My Kids Use
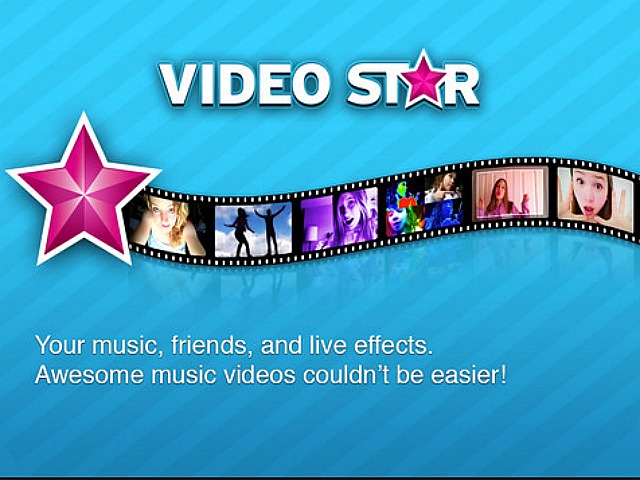
This is the first post of a new monthly series on Apps My Kids Use, keeping a tune to what’s keep our kids amused in our mobile world. I will sometimes see my kids using a new App that I have never heard of and the next thing you know, all of their friends are using it and…