Prisma: Turning Photos Into Works of Art

Transforming a Photo with Prisma

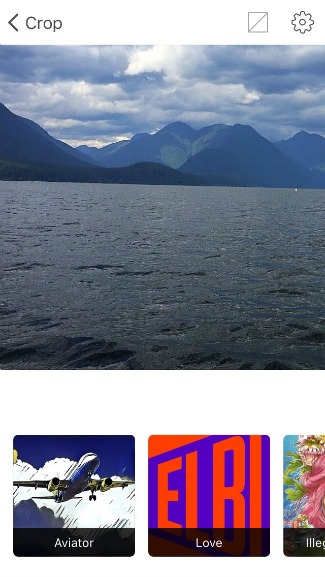
Prisma-ing a photo of Alouette Lake.

If you have found yourself looking at all the artistic images that your friends have been sharing on social media the past few months and find yourself wishing you had such artistic talents too, I will let you in on a little secret … most of the beautiful artistic images circulating social media have been created with the aid of a mobile app, Prisma. Translation: you too can create some of these incredible works of art without attending art school.

Basically Prisma is a mobile app that provides filters to transform your photographs into works of art using the styles of famous artists such as Van Gogh, Picasso, Levitan, as well as world famous ornaments and patterns.

To use Prisma on your photos, once you’ve downloaded the app to your smartphone, simply open the app and select a photo from your camera roll or take a new photo, and then tap the different filters and watch each one transform your photo into a different work of art.

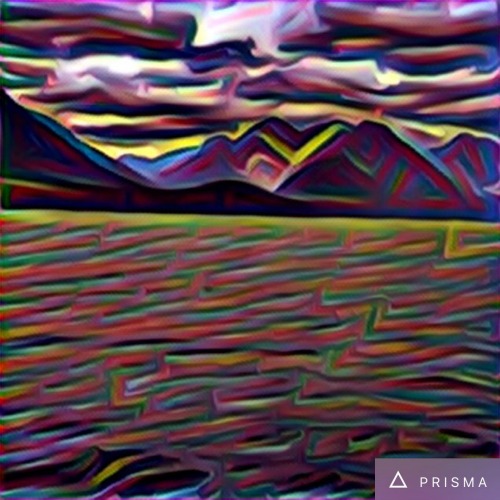
Take for example the preceding image that Lori took at Alouette Lake, by playing with it in Prisma, I transformed it into the following works of art …

Dream Filter

Prisma Dream Filter of Alouette Lake

Waves Filter

Prisma Waves Filter of Alouette Lake

Paper Art Filter

Prisma Paper Art Filter of Alouette Lake

Coloured Sky Filter

Prisma Coloured Sky Filter of Alouette Lake

Prisma Tips and Tricks

Prisma also allows you to manipulate the intensity of the filters by running your finger left (to increase the filter’s intensity) or right (to decrease the filter’s intensity).
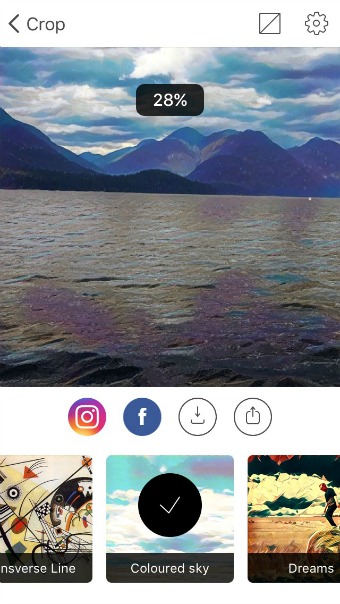
Altering Prisma filter intensity.

If you want to see your original photo next to your new Prisma artwork, swipe downward with your finger on the image. Swiping back upwards with your finger on the image will restore just the Prisma artwork.
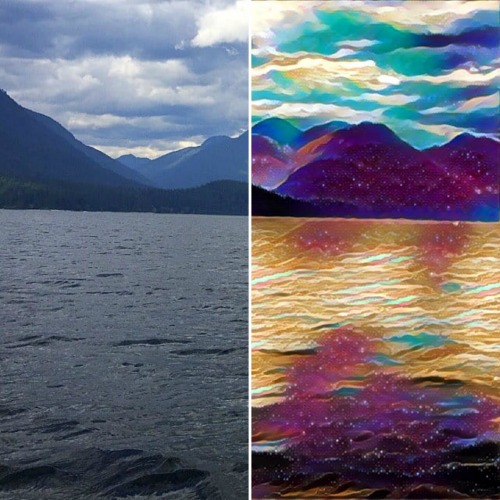
Prisma Side by Side Images

By clicking on the cog icon in the top corner, you can enable or disable Prisma to ‘save your original photos’ (those you take while using the app), ‘save your Prisma artwork automatically’, and ‘turn on/off the Prisma watermarks’ on your Prisma artwork.
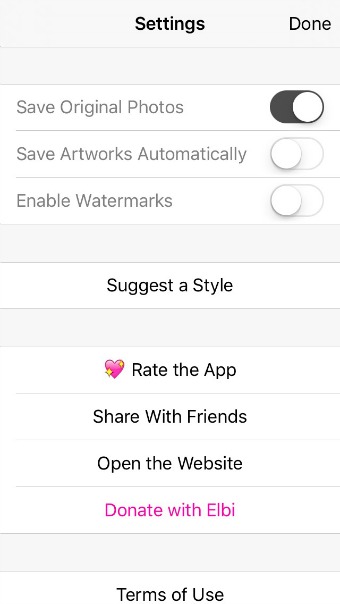
Prisma Settings

You can also save your Prisma artwork right after creating it, by clicking on the downward arrow icon underneath the artwork after you create it, and/or share it directly to Instagram and/or Facebook by clicking on the Instagram and/or Facebook icons underneath your Prisma artwork.
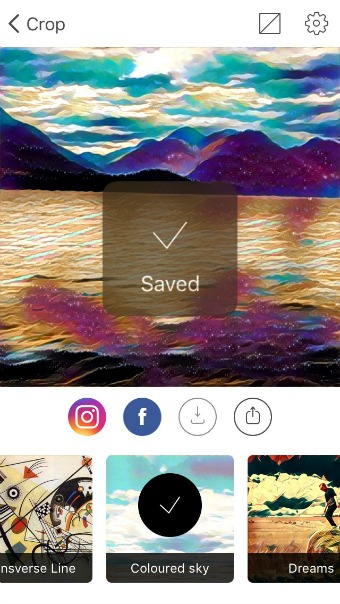
Saved!

Finally, if you wish to share the image elsewhere – to dropbox, via email, to Google+ or Twitter … etc – simply click on the upward arrow icon underneath your Prisma artwork.
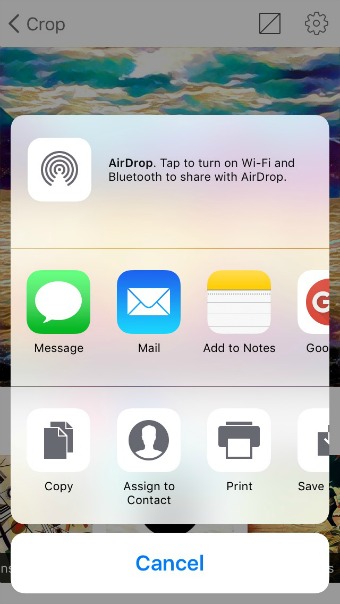
Prisma Sharing

Have fun creating … err … Prisma-ing!
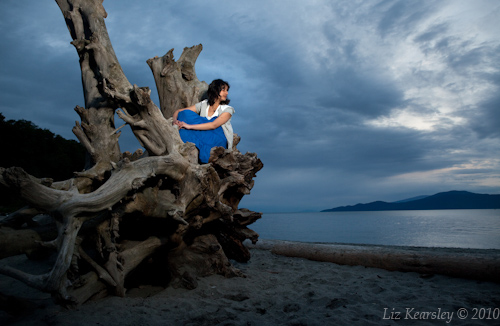
 

Photo Editing for the Interactive Audience

Alyzee Lakhani on Spanish Banks beach, shot for Ahimsa Media.

Caption accuracy and editing used to be the main tasks us photographers had to focus on following a shoot.  Today that has all changed.  With a multitude of platforms to display our photographs, most freelancers now have to get to grips with internet distribution too, on sites like photoshelter, flickr and stock agencies.  As a result intelligent and extensive keywording has become a vital tool.

My newspaper background means that I have always been most at home with the new agencies for any sales beyond a newspaper or magazine.  I, like many British press photographers, have many photographs listed with Alamy, yet as my client list widens so do the places I display my work, and with that I have found my workflow techniques evolving.

Everyone has their own process of editing using different software, be it the camera’s e.g. Nikon Browser, professional e.g. Adobe Lightroom or computer based e.g. iphoto.  I use Adobe Lightroom and have found it is a great time saver for multi-use captioning and keywording, as well as embedding photographer information into your images prior to editing.

However it was not until I uploaded our coverage of the 2010 Yorkton Film Festival to flickr that I discovered just how much time can be saved by properly preparing your images.  I’ll use Lightroom processes here as an example, but different software has similar options.

When I open up Lightroom 2 and attach a memory card an option box pops up (see below).  It includes a variety of things you can input for the entire photo batch.  In the local newspaper game each download usually involved several jobs so I wouldn’t fill much of this in, bar my copyright information, (which I have pre-programmed) so I would put in minimal keywording or captioning then download the pictures.

A lightroom screen grab of opening page information

This has recently changed when I realised just how much time can be saved by keywording each image prior to upload and to batch keyword jobs initially. One reason for this is that on flickr you must place quotation marks around each phrase longer than one word to tag or keyword and then a simple space between single words.  Whereas, most other systems use the simple comma to separate phrases.  As a result most of us need to continually remind ourselves to use this method, and it can become awkward when cutting and pasting repeating words.

Whereas, in Lightroom you can place your group keywords in that initial download and then easily add individual words whilst editing.  Take for example the image below:

Screen shot of Adobe Lightroom 2, with keywording options open

On the right hand side of the page the panel gives a variety of keywording options.  You have a list of the keywords already attached to the image (from initial download), then a section to add more, and options for the programme to remember past keywords in groups for you.  It allows you to easily click and add without re-typing.  I tend to keep that option on recent keywords, due to my varying shoots.   Below the keywording panel, is also a keyword list, with ALL your past keywords, which can be handy if you forget spellings. Below this is a section detailing your metadata.  The metadata is crucial picture information: copyright information, caption and shooting data.  This can be edited at either the download section, or within Lightroom. You can also input it in Adobe Photoshop.  (I will explain in a further post the importance of metadata in relation to copyright theft and in particular facebook)

I have found that inputting all of this information into Lightroom significantly speeds up my uploads and keeps my files up to date should I wish to use the photos on a different outlet.  It also means that my contact information stays with my image (bar placing on facebook) so if you wish to upload to various sites you do not need to keep typing the same information.

Embedded information is also very useful should you later wish to put the pictures onto a blog, for example using WordPress.  It can help bring further traffic to the site, because the photos keywords are also added to the SEO of the post.